WHAT PODCASTING EQUIPMENT DO BEGINNERS NEED?
We’re talking about your podcasting equipment, especially for beginners. What are the things you need to record and to get going with your first podcast? There is a lot of content on the web, lists that already tell you what podcast equipment you can buy, what you need to buy, et cetera…
Related: Click here to get your FREE Podcasting 101 Starter Kit
However, I’m going to break down for you today what you need to start versus what you need as you grow and move forward. Specifically, let’s talk about what you need when you’re getting started. It’s not much, but there are some things that I think people get confused about or they get the wrong information.
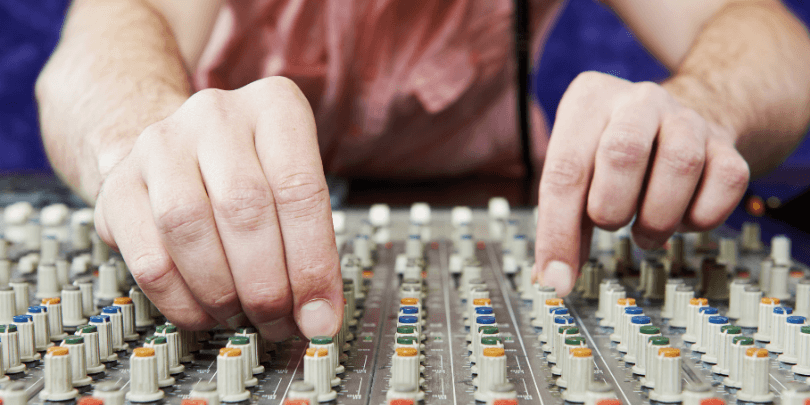
ESSENTIAL PODCASTING EQUIPMENT #1: MICROPHONE
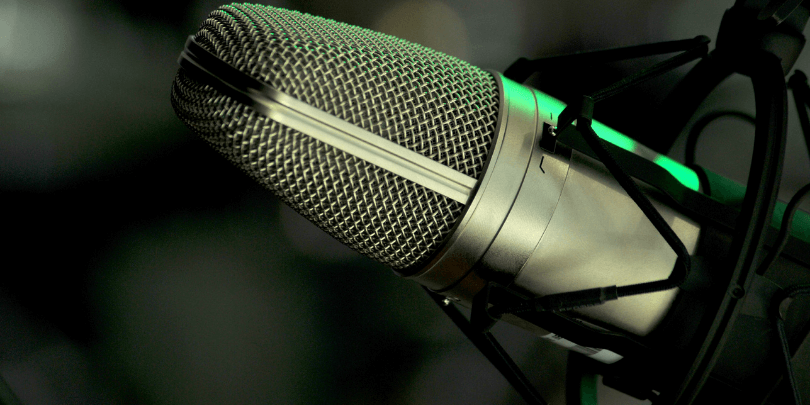
First and foremost, when you are podcasting, you need a microphone. You can get away with headphones and earbuds, but it’s not going to be the quality podcast that you’re going to be proud of. You can literally get away without anything else, but you have to have a microphone.
The microphone you should have is a dynamic microphone. Most of you are not in a professional recording studio. You don’t have soundproofed rooms. You need a dynamic microphone so that you are only picking up the sound that is four inches from the microphone.
MATCH YOUR PODCASTING EQUIPMENT WITH YOUR SETUP
The other kind of microphone is called a condenser microphone. I’m not an audio engineer, but a condenser microphone is what they used to record beautiful, professional music. The reason they do that is that it picks up everything. It gets all that beautiful tone in your voice.
That’s great, but is terrible for podcasting, especially if you’re recording from a room in your house that is not a studio, which is 90% of podcasters out there. Do yourself a favor and get a dynamic mic.
The one that most people suggest is the ATR 2100 microphone. It’s about $99 on Amazon. (Sometimes you can get it for sale for $20 off.) It’s what I use and what many other professional podcasters use.
While it does take some of the sound out of your voice, it is what you will need so that you’re not sounding like you’re in this weird bubble echo room because you don’t have soundproofing.
ESSENTIAL PODCASTING EQUIPMENT #2: MIC POP FILTER
Beyond the microphone, you have to get a pop filter that you can put on top of your microphone. It is just a little styrofoam ball. You can get a pack of five of them for $10 on Amazon.
It takes away the harsh “SS” and “P” sounds that sound like popping when you’re recording. When you are putting the sound out or you’re getting it edited, it doesn’t have all those harsh sounds that are very frustrating to keep hearing over and over as a listener. If you do hear them, you’re likely going to want to tune out or to move on to a different show.
The foam covers a very simple thing to add to your collection and very inexpensive. For recording purposes, those are all you need.
DO YOU NEED A MIC STAND?
Your microphone is going to come with a little mic stand. As long as you don’t bang your desk with your hands, the sound will be fine. If you are looking for something on top of that, you can get a boom arm, which is something you clip onto your desk and it holds a microphone in the air.
Anything you do on your desk with your hands, whether you’re clicking something or typing something on your computer, (I like to type notes while I’m interviewing a guest,) if you don’t have a boom arm, you can hear your hands hitting the table. You can hear the echo of that.
A boom arm gets rid of that. A microphone suspension boom arm is about $25 on Amazon. It’s easy enough for most people to get at that price, but again, you don’t need it. It’s helpful.
ESSENTIAL PODCASTING EQUIPMENT #3: HEADPHONES
The next thing that I think is important is a good set of earphones especially if you’re editing your own sound. I use the M 20 X pro headphones. They’re $49. There are lots of different versions of them. Just go on Amazon, look up good headphones and try to keep it under $50.
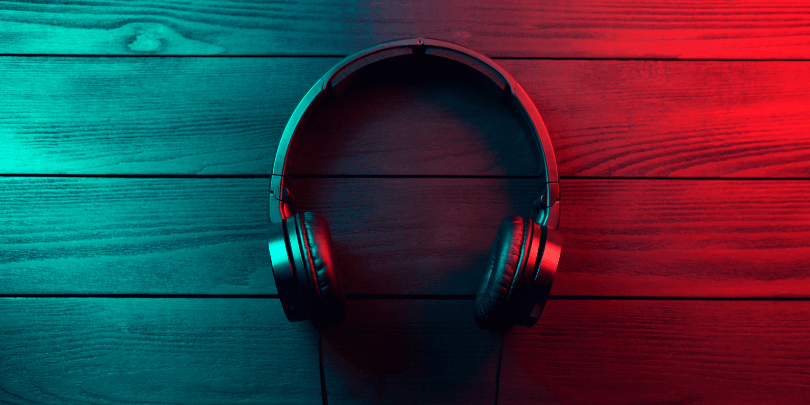
Those are the ones that are going to be fine for you, as long as they fit your ears and block out the other sound so you can actually hear any of the random sounds going on in the background when you’re editing or when you’re recording.
What I like to do is I have my headphones on when I’m recording so that if I can hear something in the background happening, I know that I need to either start over, edit that out or just know that it’s there.
CONSIDER WEB CAMERAS TO BE PODCASTING EQUIPMENT
The other thing that I would throw onto this as probably a must-have for any podcasts that want to do this long-term is to get a webcam. Especially if you’re doing interviews, record everything in video. Whether you use it or not at the beginning doesn’t matter.
You might eventually someday want to convert that video into clips or into a YouTube channel. You will have that asset and won’t have to start over with all your new interviews. You can go back into the archive and release old episodes because you’ve recorded it from the beginning.
All it takes is a little webcam that you stick on top of your computer, and you’re good to go. If you’re recording in Zoom, that stuff is happening naturally. You don’t need any extra lighting or anything like that.
The popular webcam out there, especially since Zoom started being very popular in 2020 is the Logitech C920s. Any Logitech camera is pretty reliable overall for this kind of work. When you’re a beginner, don’t get the fancy cameras that you hear all about. A simple webcam is fine for podcasters, especially when you’re starting out.
You can upgrade all these things later, but when you’re starting, don’t overdo it. It’s not worth it. The Logitech webcam is about $69. You can get that on Amazon. It will serve you well and you’ll have that extra content. Especially if you get into repurposing, all that content will be right there for you.
CONSIDER YOUR LIGHTING
If you do get more serious about your lighting or your camera and the video, if you want that to just show up a little bit better, you can grab a ring light. It’s about $40 on Amazon for a selfie ring light with a tripod.
You just put it in front of you or behind your computer when you’re recording and it shines a light on your face. It’s funny because as I’m recording this, I actually don’t have my light today. I’m in the middle of changing rooms and moving things over.
I have terrible lighting today, but you know what? I still am managing to get this thing recorded because I don’t necessarily need it. It just helps.
Today I just have a microphone with a pop filter, Analogic, that camera, and my earphones. That’s all I have going on today. Everything is plugged into my laptop, and that’s it. I can literally record from anywhere with a very basic setup.
If you do get a selfie ring light, what is great to add to that is a softbox diffuser. There’s one called a Jiuke diffuser that’s about $12. You just wrap it around the ring light and it cuts off some of the harsh white light hitting directly on you. It’s a nice softer light on your skin. That will help you look a little bit better.
WHAT TO DO IF YOU HAVE ECHO PROBLEMS
Some of you that might still have echo problems. I know some rooms are just built differently where the sound is bouncing off of walls. What I ended up buying for some of those problems was a small isolation shield.
There is one from Neewer for $49. I throw that just behind my microphone and that blocks off some of the echoey sounds a lot of the time.
Again, I don’t even have that up today because I’m just moving around and podcasting with minimal equipment. You can hear how this sounds, compare that to other episodes, and see the difference.
Luckily, I have a great editor who goes in and adds the right filters to these things to make it sound as good as possible. However, if I make it easier on them and have a better recording situation to begin with, then the editing is easier to do. There is more consistent delivery of the audio quality over time.
PODCASTING EQUIPMENT INCLUDES CERTAIN SOFTWARE
Now I’m going to go into some software ideas for you guys. This is an equipment episode, but sometimes your software is just as interesting to know about when you’re moving into this field.
For editing, you might need to do a little bit of it, or every now and then you might need to cut something out yourself that your editor didn’t have a chance to. Maybe you want to hear the sound of your microphone to hear if there are any issues with it, or record a little example and test your setup.
KNOW YOUR VOLUME
I use a program called Audacity. A lot of people do. It’s a free audio editing software. You download that online; it’s a desktop application. It can be complicated to use, but if you just use the simple features, you’re fine. Plug your things in, hit record, listen to what it’s doing.
It helped me when I was starting. Especially for people that are just getting going, you don’t realize half the time what your volume microphone is set to. You have no idea if you set it too high. You’re going to experience a bad quality sound because you’re so loud that you’re peaking.
The microphone can’t capture it correctly. I might not even be using the right technical terminology, but when you use this software, you hit start and you can test your sound.
As you talk into it, it will show you what your levels are. A lot of the time, depending on the microphone, (whether you’re using earbuds or a microphone or something else,) the sound loudness changes. For a microphone like I’m using today, I need to have my volume set up to about 90% volume so that it will capture my voice at a high level.
AUDACITY HELPS YOU KNOW YOUR AUDIO LEVELS
If I have it set higher than that, it would peak. I can tell because when I’m looking at this number scale, as long as I keep it between twelve and eighteen, I’m fine. If it hits a different number like six or zero, suddenly I’m going to be having problems.
I don’t need to get technical, but what I’m saying is that you can look at these numbers and you can Google what appropriate recording levels are. Audacity will help you do that.
I’ve used it for that, I’ve used it to do some self-editing here or there. I also use it to test my sound. If I feel like there have been problems with my microphone, I’ll test it in there.
Before this episode, I was hearing crackling. I kept testing different situations and it turned out my wires were fine, my microphone was fine, but the little plugin that has multiple USB conversions was on the fritz or was not transferring things properly.
I took that off, put everything in, and suddenly my sound is working fine. I got to test that using Audacity. It’s great software, free, and super useful. You can Google videos on how to use it.
LIVESTREAM SOFTWARE OPTIONS
Another great one for if you’re doing video and you guys want to live stream is Streamyard. It’s a live stream studio. There are versions of it that are $0 a month.
What that basically does is if you want to record in a studio room, you can add graphical overlays to your video. As you’re recording, you could pop up little comments or you can add graphical frames. You can bring on guests.
You can redistribute this, or you can live-stream your video to multiple platforms like Facebook, YouTube, a Facebook group, or something like that. It pushes into all those places at once while you’re doing this all live. It’s a great way to get your video content out if you’re doing a live stream all the time, and it also saves that content for you.
You can download the video, you can download the audio, and it will be all right there for you pre-produced. You don’t have to do anything if you want to release a video that has a nice look and flow to it. It has intros you can embed too so the sound would be already embedded for that.
It’s like a little recording studio, all digitally built. It’s something I’ve used when I was going live on Instagram more often. Definitely check that out.
RELATED: Build your personal brand with the Content Marketing Starter Guide.
PODCASTING EQUIPMENT ESSENTIAL: ZOOM
Another one is Zoom. Obviously, a lot of people’s interviews are done on Zoom these days. It’s a video conferencing app that’s about $15 a month for one of the levels of service.
When I am recording interviews, it’s a simple link that I send to people. They show up, I hit the button to record, and the whole show is recorded. The sound is recorded.
Here is a hack for you: go into the recording settings and make sure you’re clicking the button that tells you to record your sound separate from your guest’s sound. It will give you two audio tracks, one for you and one for your guest that your editor can edit separately.
The reason for this is that my sound quality might be different from my guest’s sound quality. My guest might have a different volume than me. The editor can now pair those up to be about the same volume.
Maybe there’s a hum in the background, like a fridge or an air conditioning unit. They can pull those sounds out of their recording because they’ve separated their file from my file. Having two separate recordings is huge. It’s a simple button in Zoom to help you do that.
I even record a lot of my solos in Zoom just because it’s easy. I definitely recommend that.
PODCAST HOSTING SOFTWARE
A lot of people ask about podcast hosting. Where do you put your show so that it gets distributed everywhere?
I use Libsyn. There are a lot of good options out there; I like a professional option that is safe. It’s $15 a month. You upload your show and it distributes it to all the different places that it needs to go like iTunes and Spotify and all those other places. It has all the tools you need.
The only thing I would tell you to avoid, (from my personal experience,) is Anchor. There are a lot of people that think Anchor works just fine. That’s good for them. I didn’t like it. There are workarounds for it, but the thing I didn’t like about it was that they had added ads to my audio.
They had added a logo to my cover art. Apparently there are ways to uncheck that and take it off, but that was the default at the time. On top of that, most of us submit our feed to Apple ourselves. Because of that, we can log in to Apple and then check the statistics.
In Anchor, they do it for you, which sounds good in theory, except now they are the ones that control that feed. If they disappeared, it would not be your feed anymore. It’s just not something I think is necessarily the best practice. People might disagree with that. It is convenient to use, but just not my cup of tea. I’d recommend going with a more professional service, like Libsyn or something else.
PODCAST RANKING AND GRAPHIC DESIGN OPTIONS
If you want to check your podcast rating after you’ve launched a podcast to see how you rank out there versus other podcasts, Chartable is a great podcast analytics tool. It shows you where you’re ranking week to week in all different countries and in the different categories of podcasting. Register your podcast with Chartable. It’s free.
In terms of graphics, Canva is something I use to add a lot of design to my social media. If I want to take my episode and I want to add a little graphical design to it before I post on social media, I just use Canva. It helps me design a lot of the work I put out there today at $0 a month for the beginning packages.
PODCASTING EQUIPMENT SOFTWARE INCLUDES EMAIL
If you are building your subscriber list, I would recommend you do that via email. Ask people to sign up for your newsletter or to sign u, to get weekly content from you. Do that on your website and grow your email list. The number one way you can build rapport and a relationship with your audience is through email.
To do that, you can use a simple tool like Convert Kit for your email marketing. You can build landing pages for things like downloads. It can be built there, and it is where you store all your email contacts. Then if you want to broadcast something to them, you can do that right there in the system.
From there, it gives you statistics. It tells you how many people open your emails and all those other things. That’s something I use. There is a $0 a month version, but what I like about it is as you scale up in size, the price goes up with the subscriber counts. However, it is at a reasonable rate.
WATCH OUT FOR SURPRISE COSTS
A lot of people talk about is HubSpot. I’ve tried it. It is probably the Rolls Royce of email marketing, but because of that, it’s also at that cost. Now they trick you at the beginning. They say that it’s free or really inexpensive, but that’s up to about a thousand subscribers.
Once you jumped beyond that subscriber number, it skyrockets in price to $800 to $1000. I forget the exact number, but for most of us, it’s just not the next jump we’re ready to take.

I actually switched over off of that because of this reason, even though it gave me so much amazing information about the people and how they were interacting with my emails. It’s great for corporations, not for the independent beginning podcaster. Avoid that if you can.
EMBED YOUR PODCAST INTO YOUR WEBSITE
The last thing I’ll mention is something called Fuse Box. It’s a podcast player. If you want to embed that on your website, it allows you to put your podcast on your website as a player that they can pick episodes from in a more professionally designed way.
It’s something I’ve considered, but not something I’m using right now because I like how I’ve embedded my Libsyn player into my blog post at a very small place.
However, I’ve seen another website and it looks great. It’s from a very well-trusted influencer in the space, Pat Flynn. I think Fuse Box is a great tool for a lot of you if you’re looking for that extra pizzazz on your website. It’s free to add.
FINAL PODCASTING EQUIPMENT THOUGHTS
That was a lot, I know. Again, I just want to emphasize if you’re getting started, you just need the microphone, the pop filter cover, some headphones, and if you can spare it, throw in the video camera and you’re good to go. You’re off to the races.
Just those first four things, add them together and it will cost under $250. That would be my recommendation. Take it from someone who’s doing this and isn’t trying to trick you into getting extra stuff.
This is for the beginning people out there. The other things I talked about today you can add on along the way.
If you are just getting started and you need a podcasting idea, go back to 10 Podcasting Ideas for Beginners. If you got a podcast idea but you’re still trying to figure that out and you want help with it, hit me up.
I’d love to hear what your podcast idea is and give you my two cents on it. Go to brandsonbrands.com/coach, and we can set up a call and talk.
CONNECT WITH BRANDON
Brandsonbrands.com/coach
Instagram: @brandonbirkmeyer
MORE ADVICE AND INTERVIEWS
If you’d like more content about how to build your personal brand, check out my free Content Marketing Starter Guide.
- Don’t want to miss the next thought leader interview? Subscribe to the free B-team Insider Newsletter! And don’t forget to leave a rating and review on iTunes.
Talk soon!
4 Ways To Build Your Podcast Brand
Start Building Your Reputation Today. Take your knowledge out of your head and turn it into an influential podcast brand. Dramatically increase your industry reputation, reach a global audience, gain a passive income and impact people’s lives all over the world. Let me help you create and launch your podcast, grow your audience, and build a highly influential personal brand – the easy way!
Here are 4 ways that I can help you become a known leader in your industry: